How to install a wooden fence
In short: our fences are built on site, not from ready-made panels. You set Azobé posts of 6 x 6 cm about 1 m apart, with roughly a third of each 3 m post in the ground. Then you fix narrow Ipe fence slats (2.1 cm thick, 5, 7 or 9 cm wide) horizontally with black coated stainless steel clips. The clips set an even 5 mm gap and no screws show at the front. Two people can install a typical garden fence over a weekend.
Before you start: cost, wind and the neighbours
What a wooden fence costs depends mainly on its length, height and the slat width you choose. Enter your length and height in the modern fence calculator and you see the full price straight away, including posts, clips and screws. Delivery to the UK takes 7 to 14 working days.
A fence catches the wind like a sail. In a sheltered garden, compacted sand around the posts is enough. On an open, exposed plot, set the posts in quick setting concrete as well. Building on a boundary? Talk to your neighbours first, and check the local rules on fence height before you order.
What you need
- Azobé posts of 6 x 6 cm, 3 m long, and a thicker gate post on each side of a gate
- Ipe fence slats of 2.1 cm, or the batten fence with 4 x 4 cm battens
- Black coated stainless steel clips and screws with a drill point (supplied with every fence)
- Optional: EPDM membrane behind the slats for full privacy and less noise
- Tools: long spirit level, string line, spade or post hole auger, cordless drill (an impact driver helps), saw, rubber mallet
Not sure how many slats you need? See how many fence slats per metre.
How to install a wooden fence in 6 steps
Step 1: Mark out the fence line
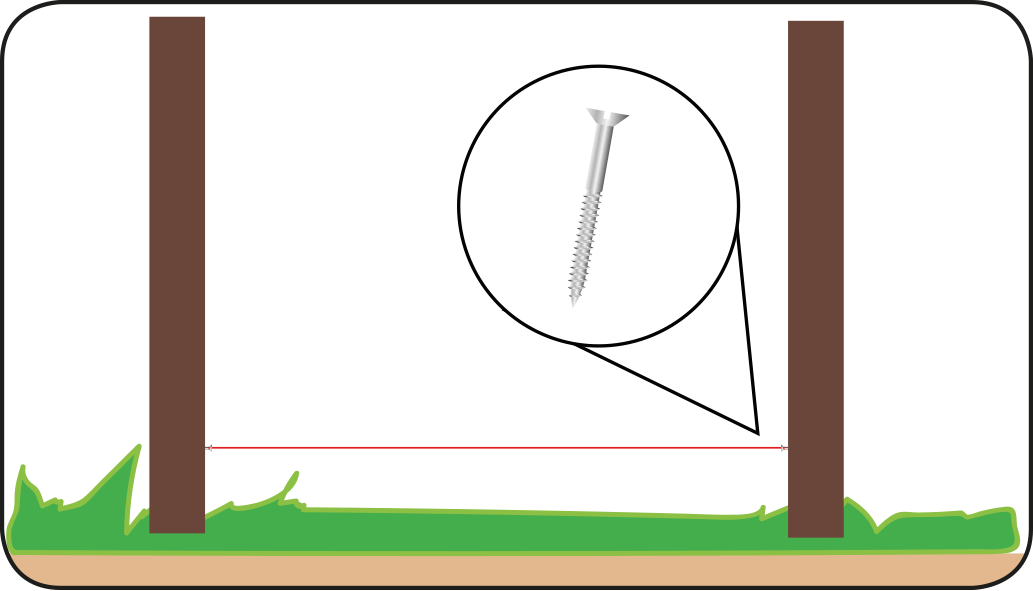
Start from a fixed point, such as the house wall or a corner of the plot. Stretch a string line just above the ground along the future fence. Every post goes tight against this line, so the fence ends up dead straight.
Step 2: Set the posts
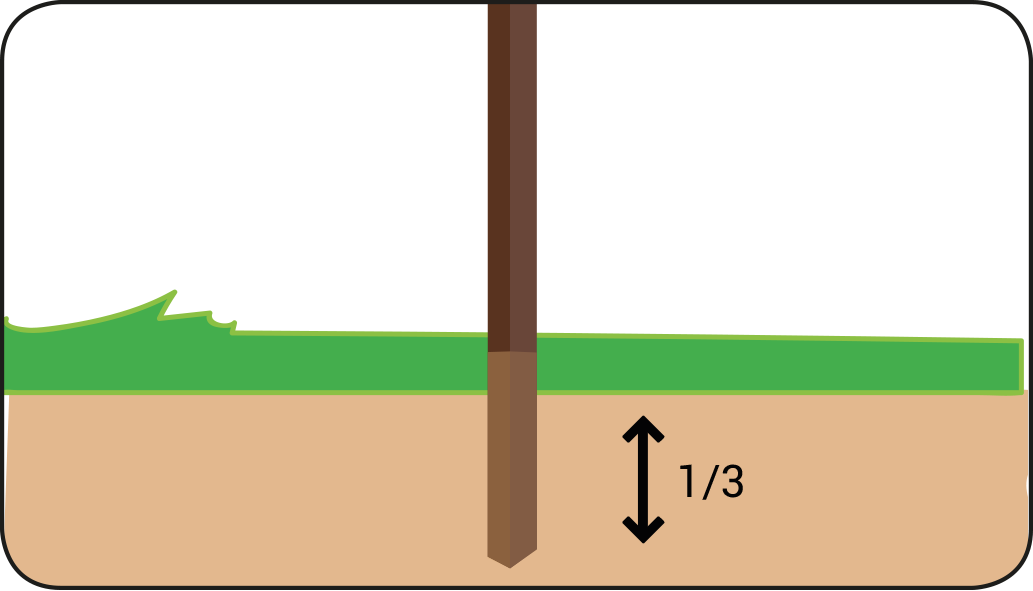
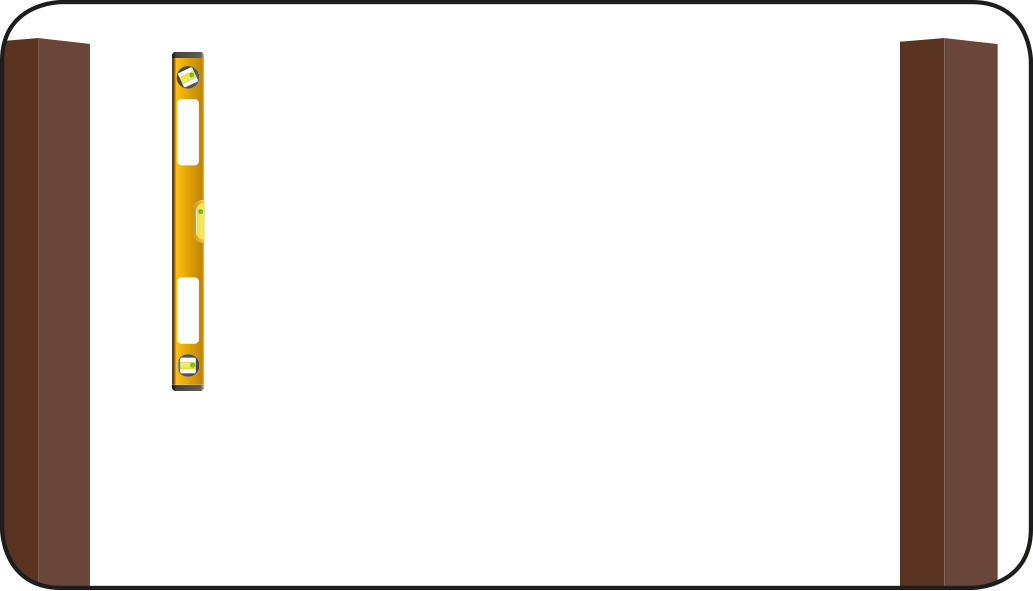
Place the posts about 1 m apart, each with roughly a third of its length in the ground. Dig the holes with a spade or drill them to depth with an auger. Stand each post upright with the spirit level, backfill with sand and compact it in layers. Then water the sand so it settles and the post sits really firm. On an exposed plot, mix in quick setting concrete.
The post tops do not need to be exactly level yet. The first slat sets the height of the fence.
Step 3: Fit the EPDM membrane (optional)
Want a fully screened fence that also dampens noise? Fix the EPDM membrane tightly to the posts now, before the slats go on. Once the fence is finished, you only see it as a dark line in the gaps.
Step 4: Fix the first slat perfectly level
You build the fence from the bottom up. The bottom slat matters most, because every other slat follows it, so make it 100% level. Screw the clips into the groove at the back of the slat and onto the posts. The screws have a drill point, so there is no need to pre-drill the posts.
Step 5: Build up the slats
Press the next slat into the clips. The clip doubles as a spacer and gives an even 5 mm gap everywhere. If the gap is wider, the clip or slat is not seated properly.
The slat ends click into each other, so a slat does not have to finish on a post. Stagger the joints from row to row, so you never get one continuous vertical seam. Put a clip above and below every slat end, even where there is no post behind it. Waste usually stays under 5%.
Step 6: The top slat
The top slat has no slat above it to hold the clip. Fix it with half a clip, or screw at an angle through the groove into the post. This is the only place where you pre-drill. You do not need a capping rail: Ipe is durable enough to be left exposed on top.
For more on the clip system, see this Ipe fence built with the clip system.
Aftercare
Ipe and Azobé last 25+ years, even without maintenance. Left untreated, Ipe weathers to a silver grey. To keep the warm colour, treat the fence with hardwood oil. Think of it as sun cream for the wood: it repels dirt and water and helps keep the timber stable.
Frequently asked questions
How far apart should fence posts be?
With our system, about 1 m. That keeps the fence stable in strong wind.
How deep do fence posts go?
About a third of the post length, so roughly 1 m for a 3 m post.
Do I need to pre-drill Ipe?
No, the screws have a drill point. Only for the top slat, where you screw at an angle through the groove, do you pre-drill.
Can I order a ready-made fence panel?
No. Every fence comes as a kit of posts, slats, clips and screws, which you cut and assemble on site. That way the fence fits your garden exactly. Browse all models on our fences page.