How to install teak fencing in 6 steps
In short: teak fencing goes up in six steps: set out, put in Azobé posts about a metre apart, add gate posts and a membrane if you want one, fix the first row level, stack the rest with clips and finally cut to length. The clips keep a 5 mm gap for you. Two people can put up 10 metres in a weekend.
What you need
- The kit: teak slats, Azobé posts 60 x 60 mm, black stainless steel clips and screws.
- An auger or spade, tape measure, string line and pegs, spirit level.
- A cordless drill. The screws are self drilling, so no pilot holes.
- A saw for the last slats. Teak contains silica and blunts blades quickly; a carbide tipped blade lasts longer.
- On an open, windy site: postcrete.
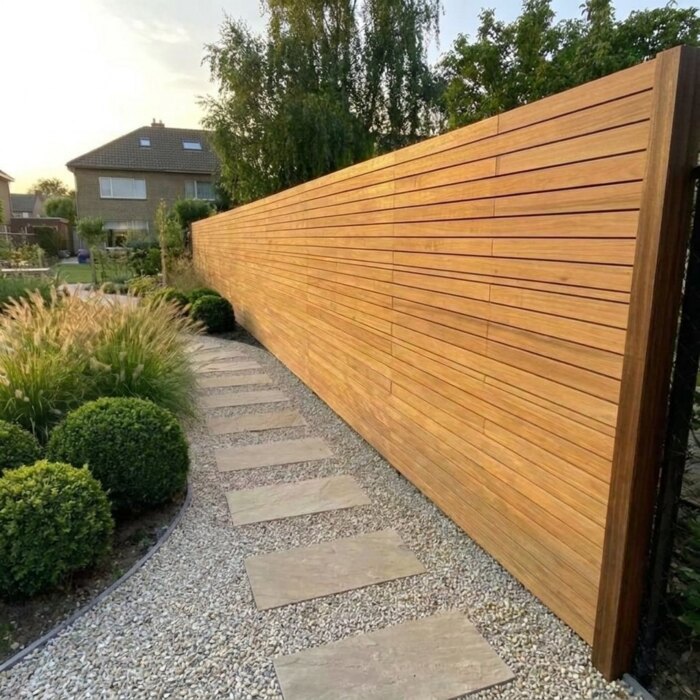
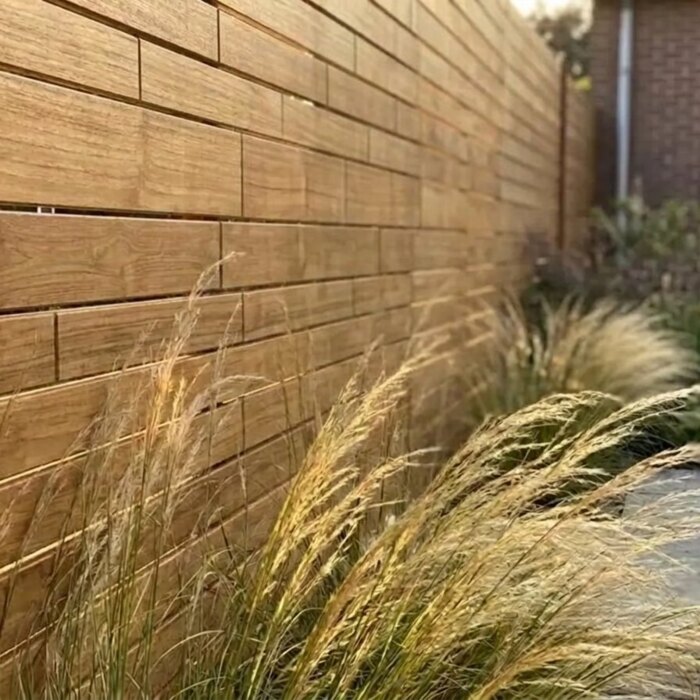
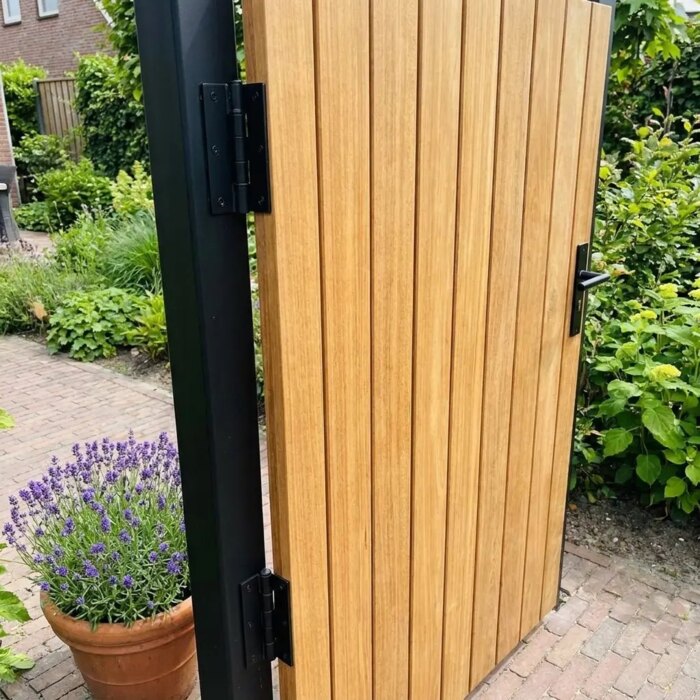
Step 1: Set out
Start from a fixed point such as the corner of the house. Run a string line low along the line of the fence. If it goes on the boundary, talk to your neighbours first.
Step 2: Set the posts
Set the Azobé posts about a metre apart along the line, with a third of their length in the ground. Backfill with sand, compact it in layers and water it in so it settles. A corner takes two posts. If the fence is exposed to wind, use postcrete.
Step 3: Gate posts and membrane
If there is a gate, put a 140 x 140 mm gate post on the hinge side, or one each side for a symmetrical look. If you chose an EPDM membrane, hang it over the posts now. It disappears behind the slats.
Step 4: First row level
Fix the slats from the bottom up. The first row sets everything: get it perfectly level, a few centimetres off the ground so the teak stays dry.
Step 5: Stack the slats with clips
At each post, press a clip into the groove and screw it home. The clips double as spacers: push the next slat onto them and you get a 5 mm gap all the way up. Where two slats meet end to end, put a clip above and below the joint, even between posts. Stagger the end joints from row to row so there is no continuous vertical seam. The tongue and groove on the ends clicks the slats together lengthways, so they never need to finish on a post.
Step 6: Cut and finish
Cut the overhanging slats off square at the end and lightly sand the cut. Hang the gate and adjust it. To keep the teak golden, oil it; see teak fence care.
What is different about teak?
The system is exactly the same as our Ipe fencing; the difference is the timber. Teak weighs about 670 kg/m³, a third less than Ipe, so the slats are easier to carry. It is softer, though: do not lay the slats on gravel or stones while you work, and wear clean gloves to avoid dents and marks. And expect to change saw blades sooner than you are used to.
Rather have it fitted?
Any landscaper can work with this clip system. What the materials cost is on teak fence cost. A detailed guide to the system itself is on build your own fence.
Installing teak fencing FAQs
How deep do the posts go?
About a third of the post length. On an open, windy site, set them in postcrete.
How far apart are the posts?
About 1 metre. A corner takes two posts.
Do I need to pre drill teak?
No, the screws are self drilling. You will only notice teak blunting your saw blade.
Can I put it up on my own?
You can, but two people are quicker, especially for the first row and lining up the posts.
Why from the bottom up?
The clips rest on the slat below, so every gap comes out at 5 mm and everything stays straight.
Written by Tom Wegter (team leader IT) and Marc Westerhuis (team leader communications) at Hardwood Discount · last updated: 21 October 2026 · Facebook · Instagram · YouTube · Pinterest